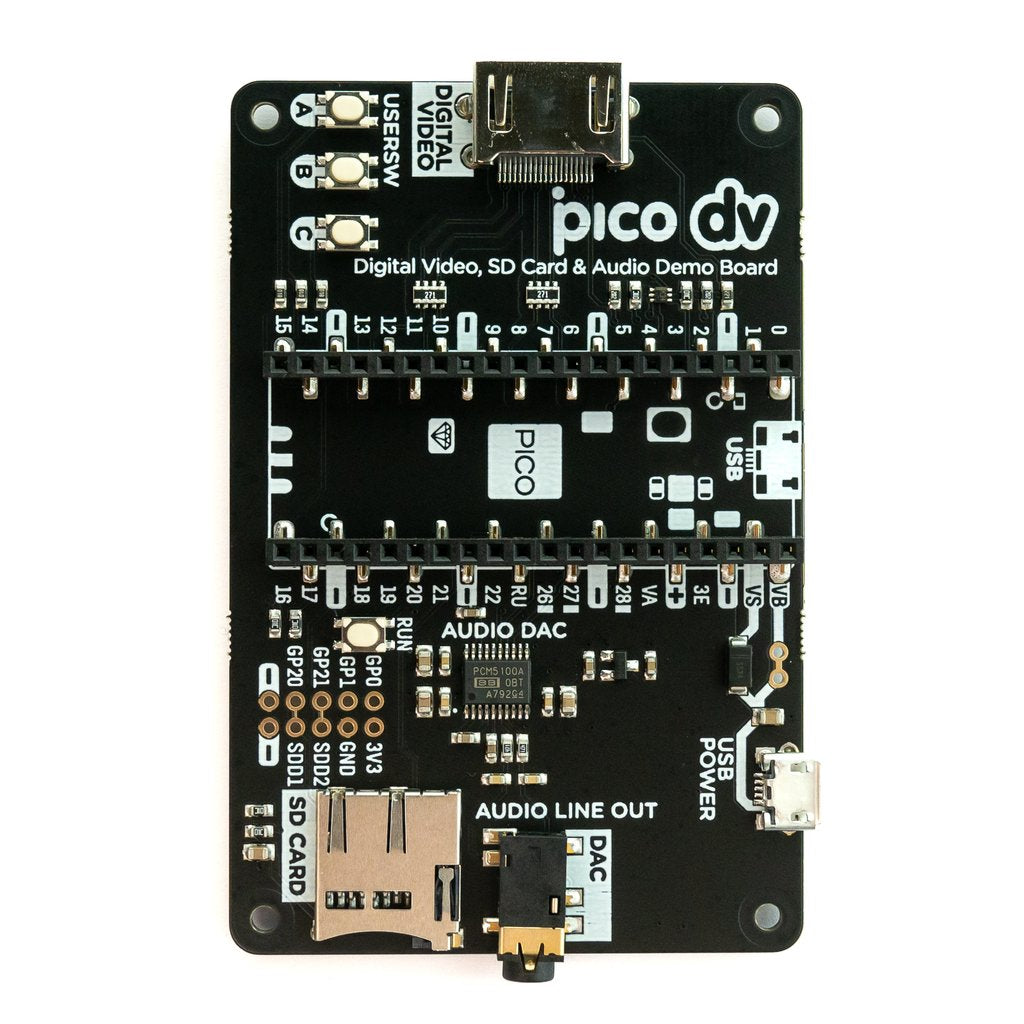
Explore the digital video and audio capabilities of Raspberry Pi Pico with this amazing demo board. It comes with an HDMI connector, SD card slot, line level I2S audio, and buttons. If you're interested in the VGA Demo Base but lack a D - sub cable, no worries! This all - digital conversion of Raspberry Pi's VGA reference design is perfect for starting video and audio output projects from a Raspberry Pi Pico and sending it directly to a modern monitor. We've used it with Wren6991's PicoDVI library to output a bitbanged digital video signal from an overclocked RP2040. We've also created an AV player example to read video files from the SD card and output video and audio simultaneously. Note that the video functionality currently only works with experimental examples like those in PicoDVI. The Raspberry Pi Pico is not included. Your Pico needs pin headers soldered with pins pointing downwards to attach to this add - on board. Features include an HDMI connector, PCM5100A DAC for line out audio over I2S, SD card slot, reset button, socket headers for your Raspberry Pi Pico, three user - controllable switches, rubber feet, compatibility with Raspberry Pi Pico, no soldering required if your Pico has header pins, and programmability with C/C++. It also comes with a schematic. Raspberry Pi Pico is a flexible, low - cost microcontroller development board from Raspberry Pi, based on the RP2040 chip. It's easily programmable over USB with C/C++ or MicroPython and great for various physical computing projects. Our Pico - sized add - ons, called packs, attach to the back of your Pico. We also have Pico bases and other boards for interesting projects. Click here to view them all!

Using the Pimoroni Raspberry Pi Pico Digital Video Demo Base Board is easy. First, make sure your Raspberry Pi Pico has pin headers soldered with the pins pointing downwards. Then attach the Pico to the demo board. You can use it with the PicoDVI library to output digital video signals. To play videos and audio, use the AV player example to read files from the SD card. Remember, the video functionality only works with experimental examples for now. When it comes to maintenance, keep the board in a dry and clean place. Avoid exposing it to extreme temperatures or moisture. If you encounter any issues, check the schematic for reference. Also, since it's programmable with C/C++, you can customize it according to your project needs. And don't forget, the Raspberry Pi Pico itself is not included in the package, so you'll need to get one separately.