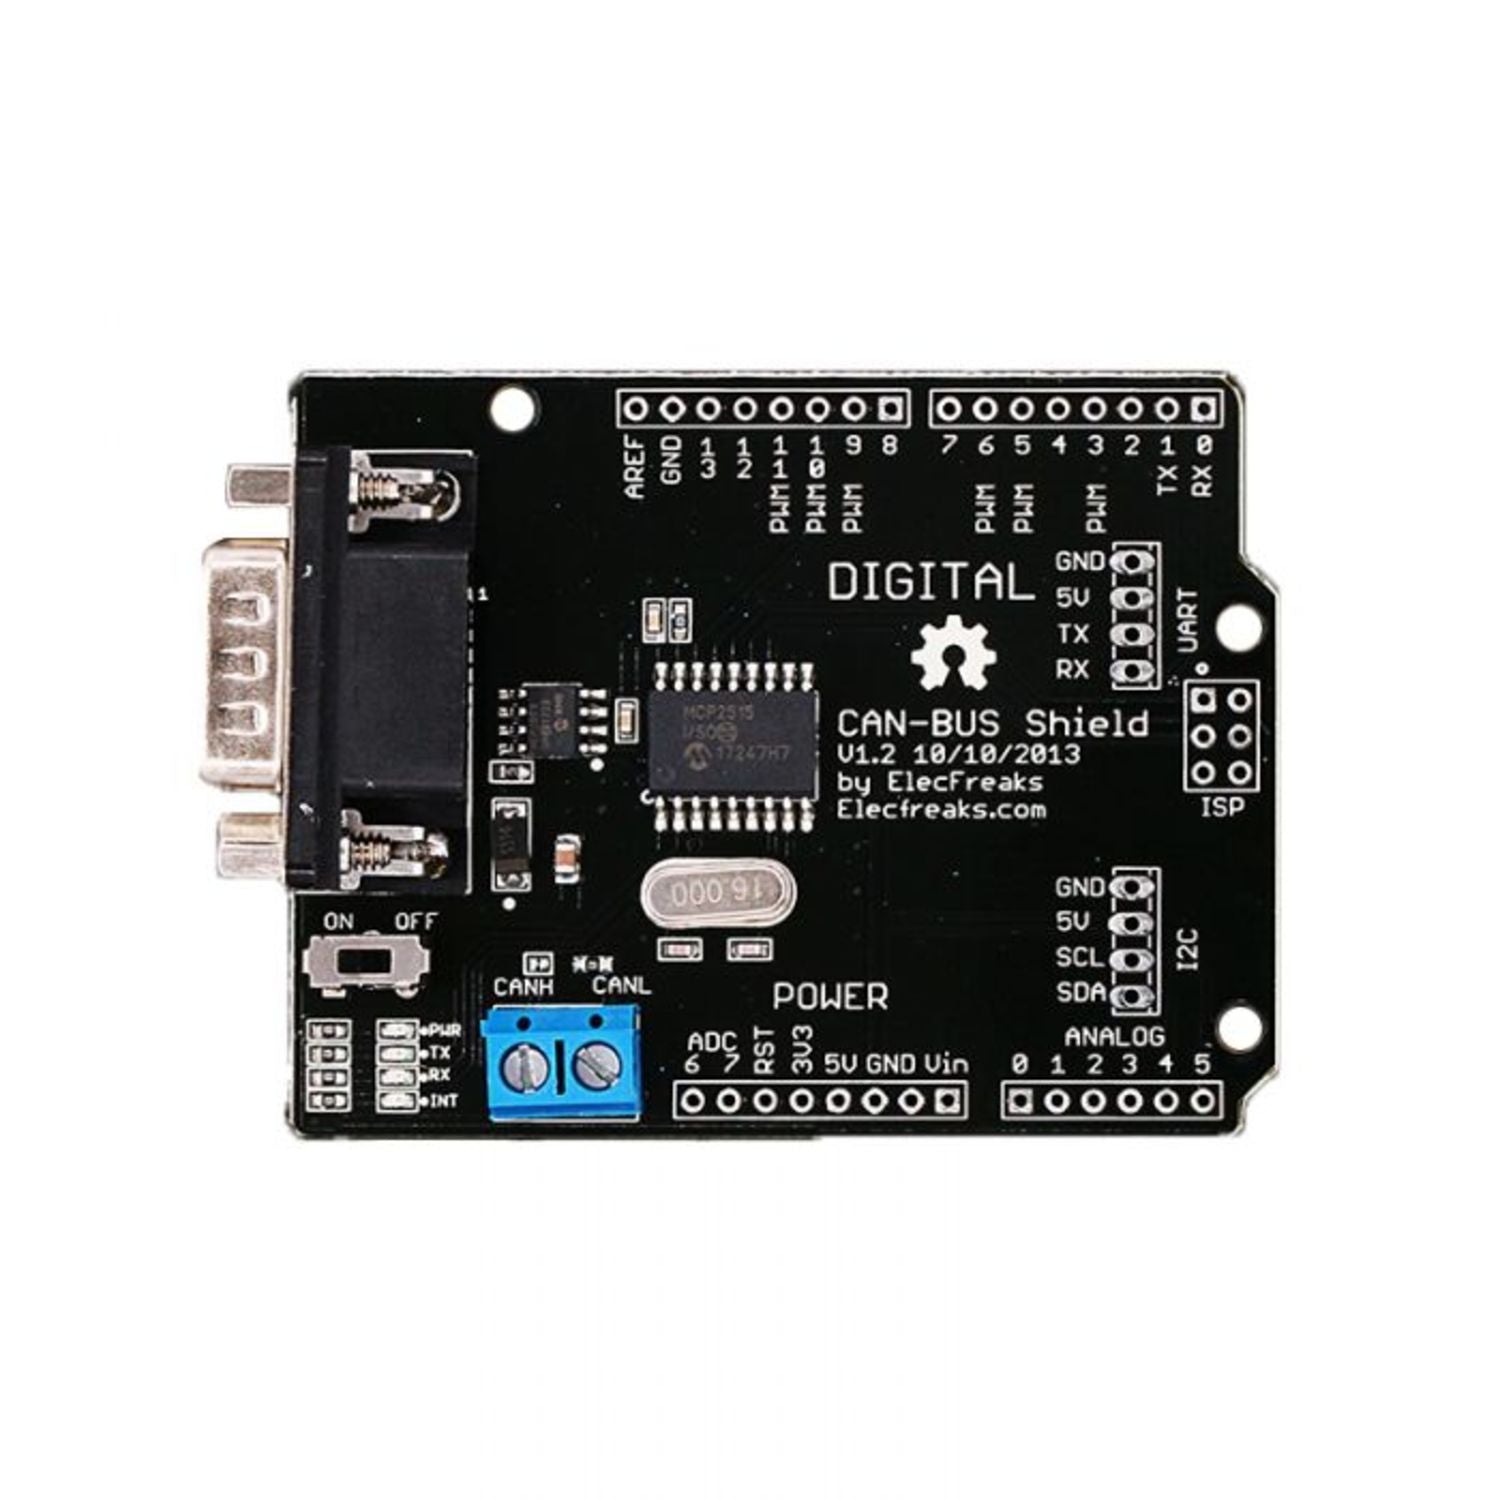
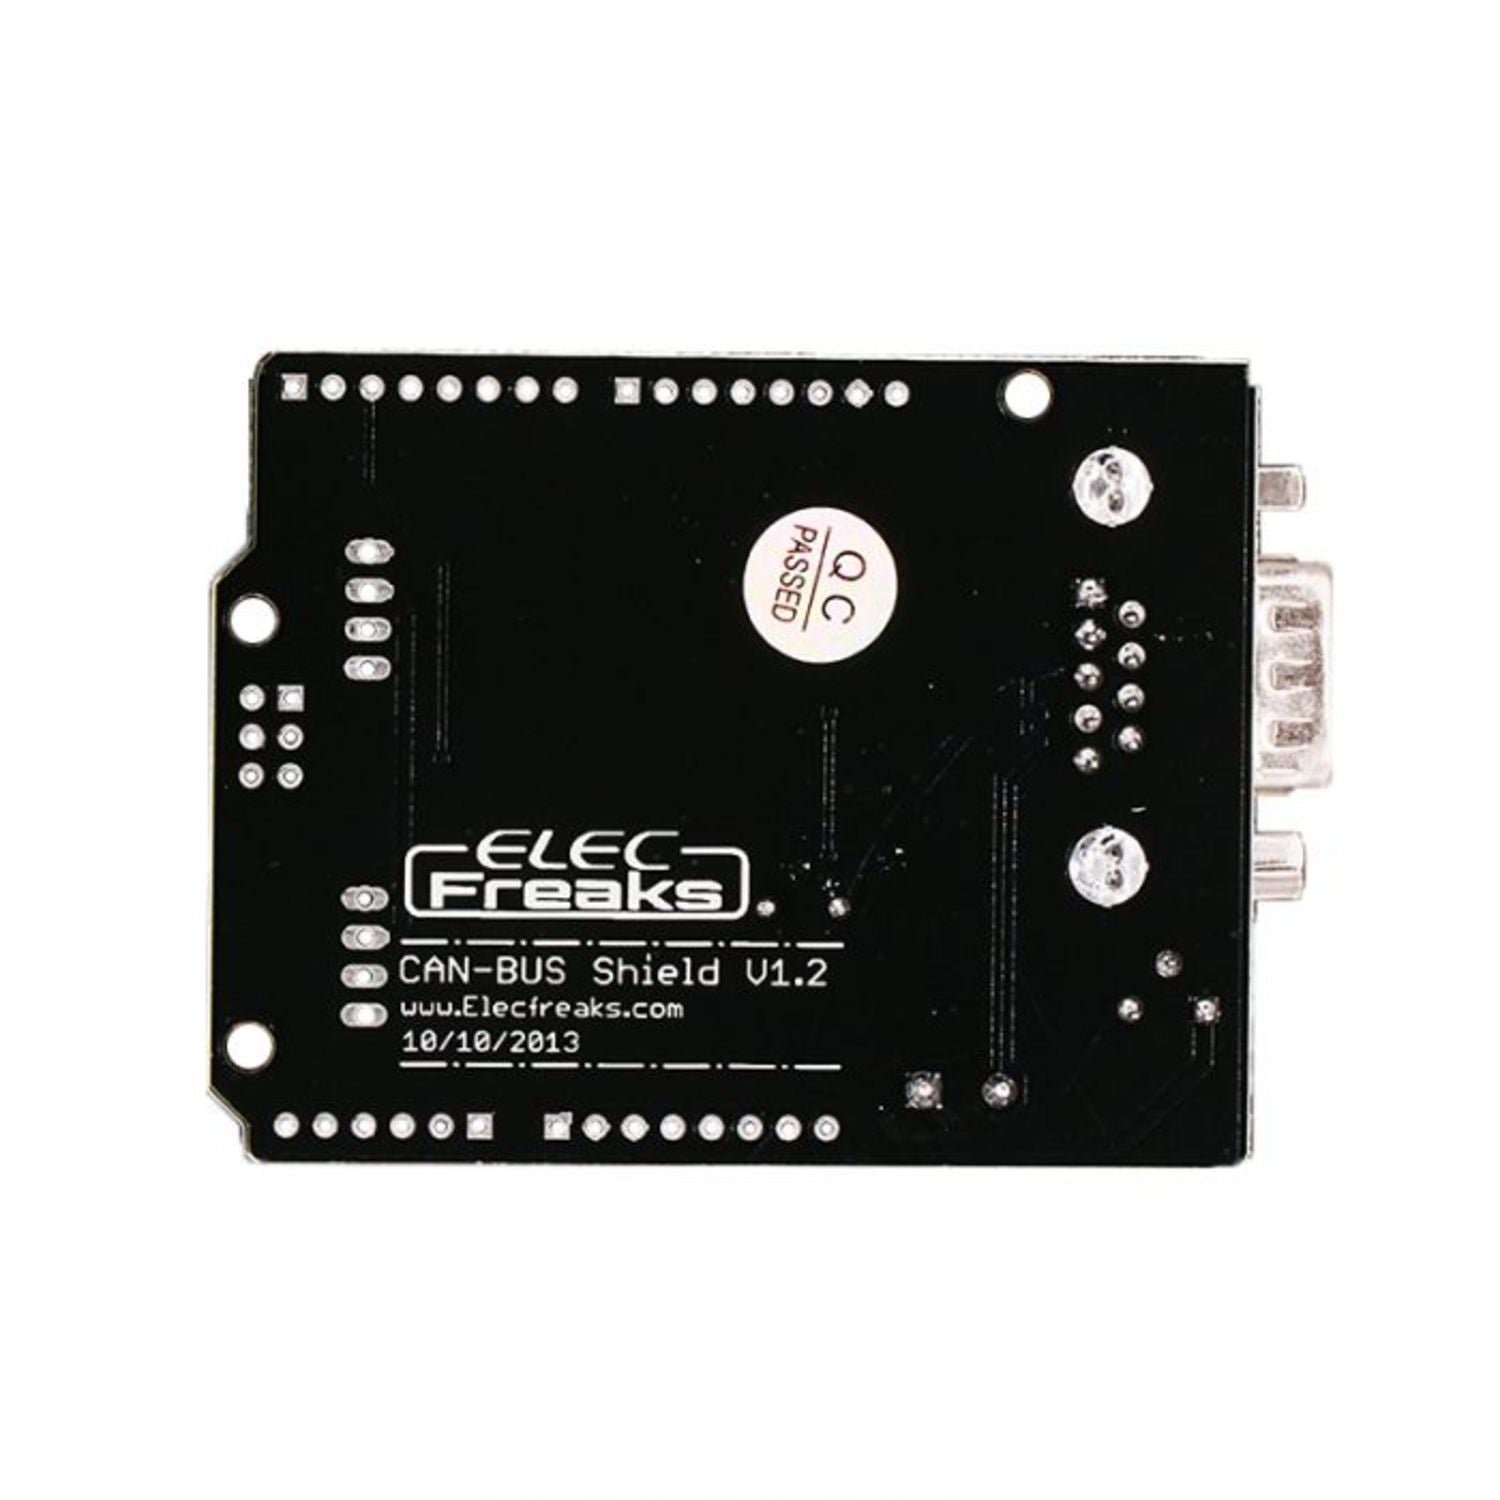
CAN - BUS is a widely - used industrial bus known for its long - range communication, moderate speed, and high reliability. It's commonly seen in modern machine tools and automotive diagnostic systems. This CAN - BUS Shield equips your Arduino or Seeeduino with CAN - BUS capabilities using an MCP2515 CAN Bus controller with an SPI interface and an MCP2551 CAN transceiver. Add an OBD - II converter cable and import the OBD - II library, and you can easily build an onboard diagnostic device or data logger.
**Features:**
- Supports CAN V2.0B at speeds up to 1 Mb/s.
- SPI Interface with a max speed of 10 MHz.
- Fully compatible with Arduino/Freaduino.
- Handles standard (11 - bit) and extended (29 - bit) data and remote frames.
- Comes with an industrial - standard 9 - pin sub - D connector.
- Two receive buffers for prioritized message storage.
- Operates on a DC voltage of 5 - 12V.
- Measures 78mm x 53.5mm.
**Applications:**
- Ideal for industrial control.
- Great for the car control field.
**Resources:**
- Paintcode
- User_Guide
- Datasheet
- Schematics
- SPEC
Visit the ElecFreaks wiki page for more product details. Your help in improving documents, adding demo code, or tutorials is highly appreciated.


Using the CAN - BUS Shield is quite easy. First, connect it to your Arduino or Seeeduino. It's designed to be fully compatible, so you won't have any trouble with the connection. If you want to build an onboard diagnostic device or data logger, add an OBD - II converter cable and import the OBD - II library. That's all it takes to get started.
When it comes to power, make sure to provide a DC voltage between 5V and 12V. This is the operating range for the shield, and using a voltage outside this range could damage it.
In terms of maintenance, keep it in a clean and dry environment. Avoid exposing it to extreme temperatures or moisture. If you notice any issues, refer to the datasheet or user guide on the ElecFreaks wiki page. And don't forget, you can contribute to improving the product's documentation and adding more useful code or tutorials.