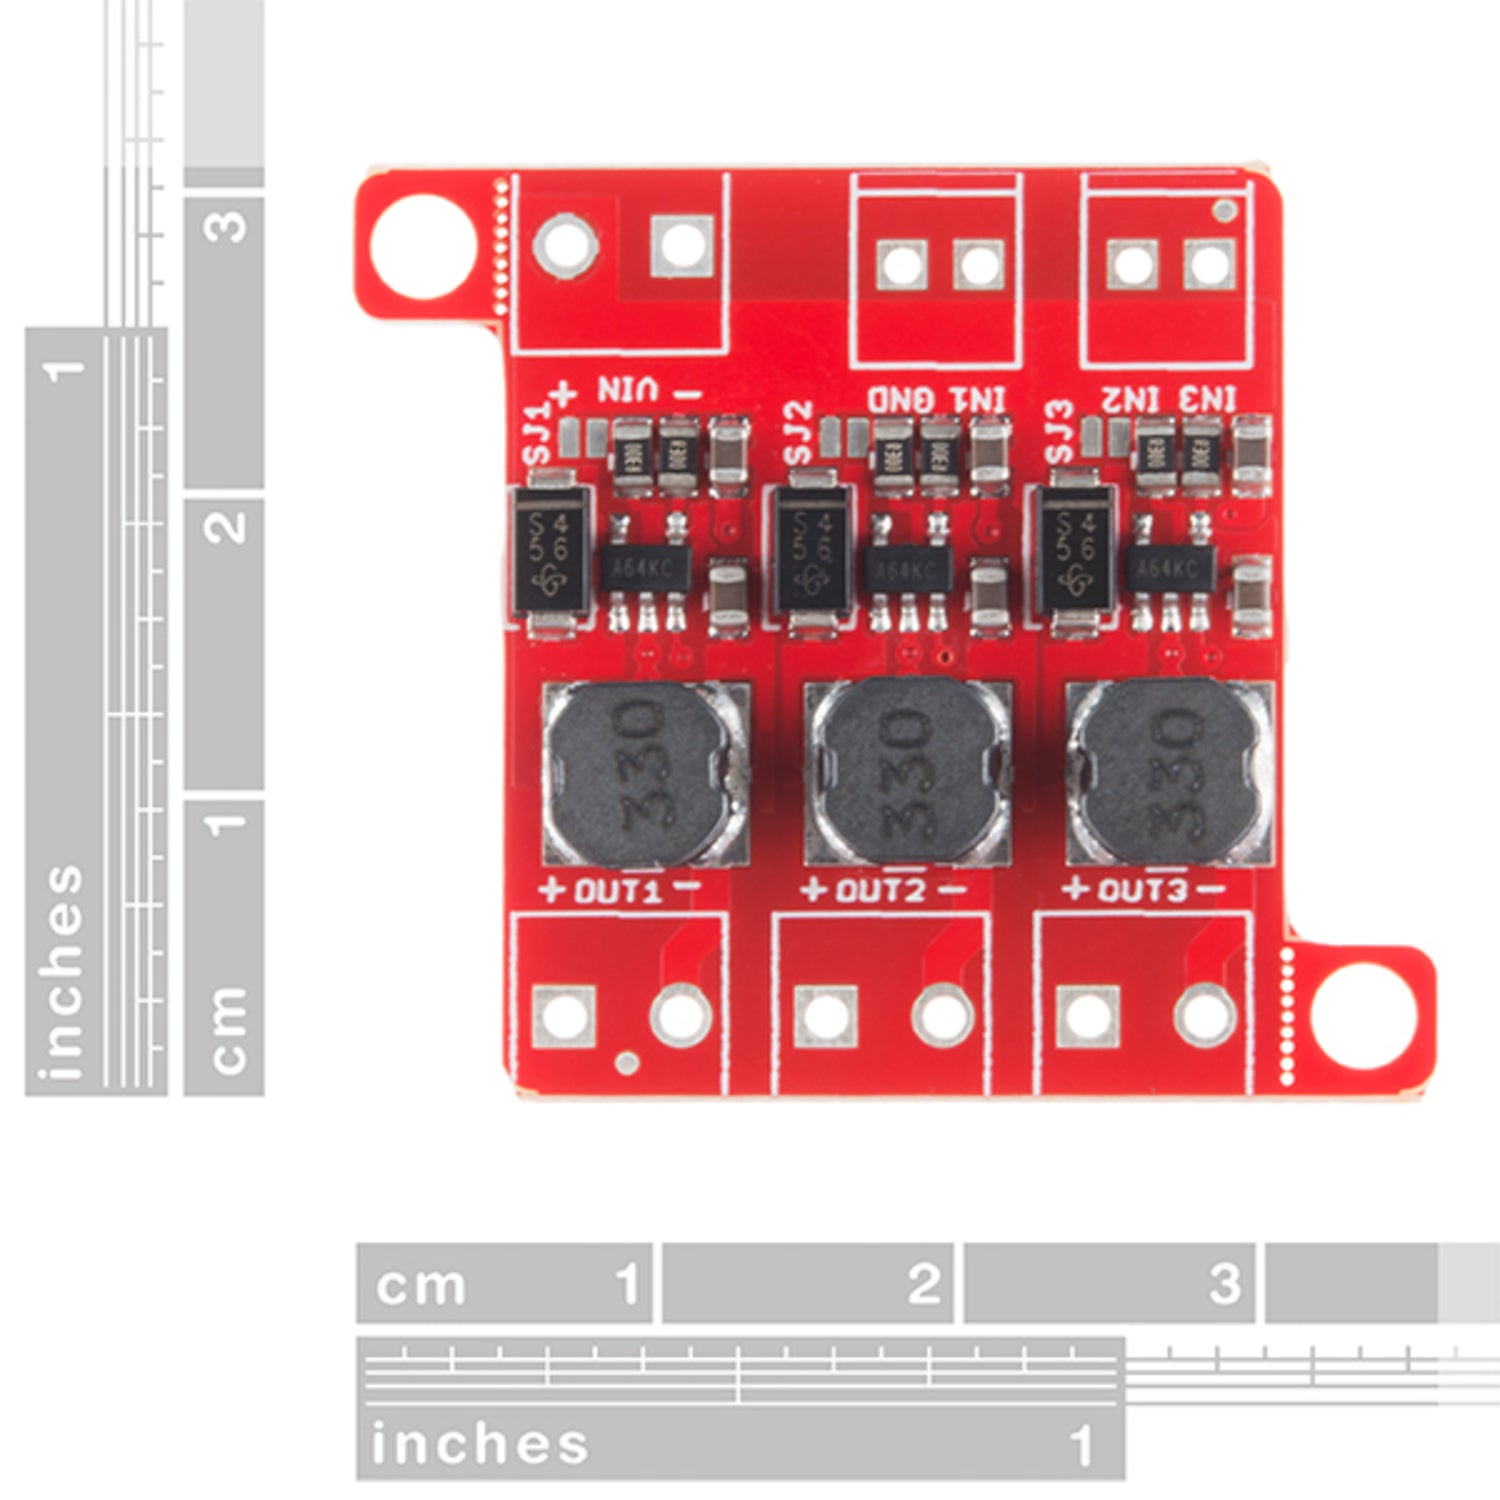
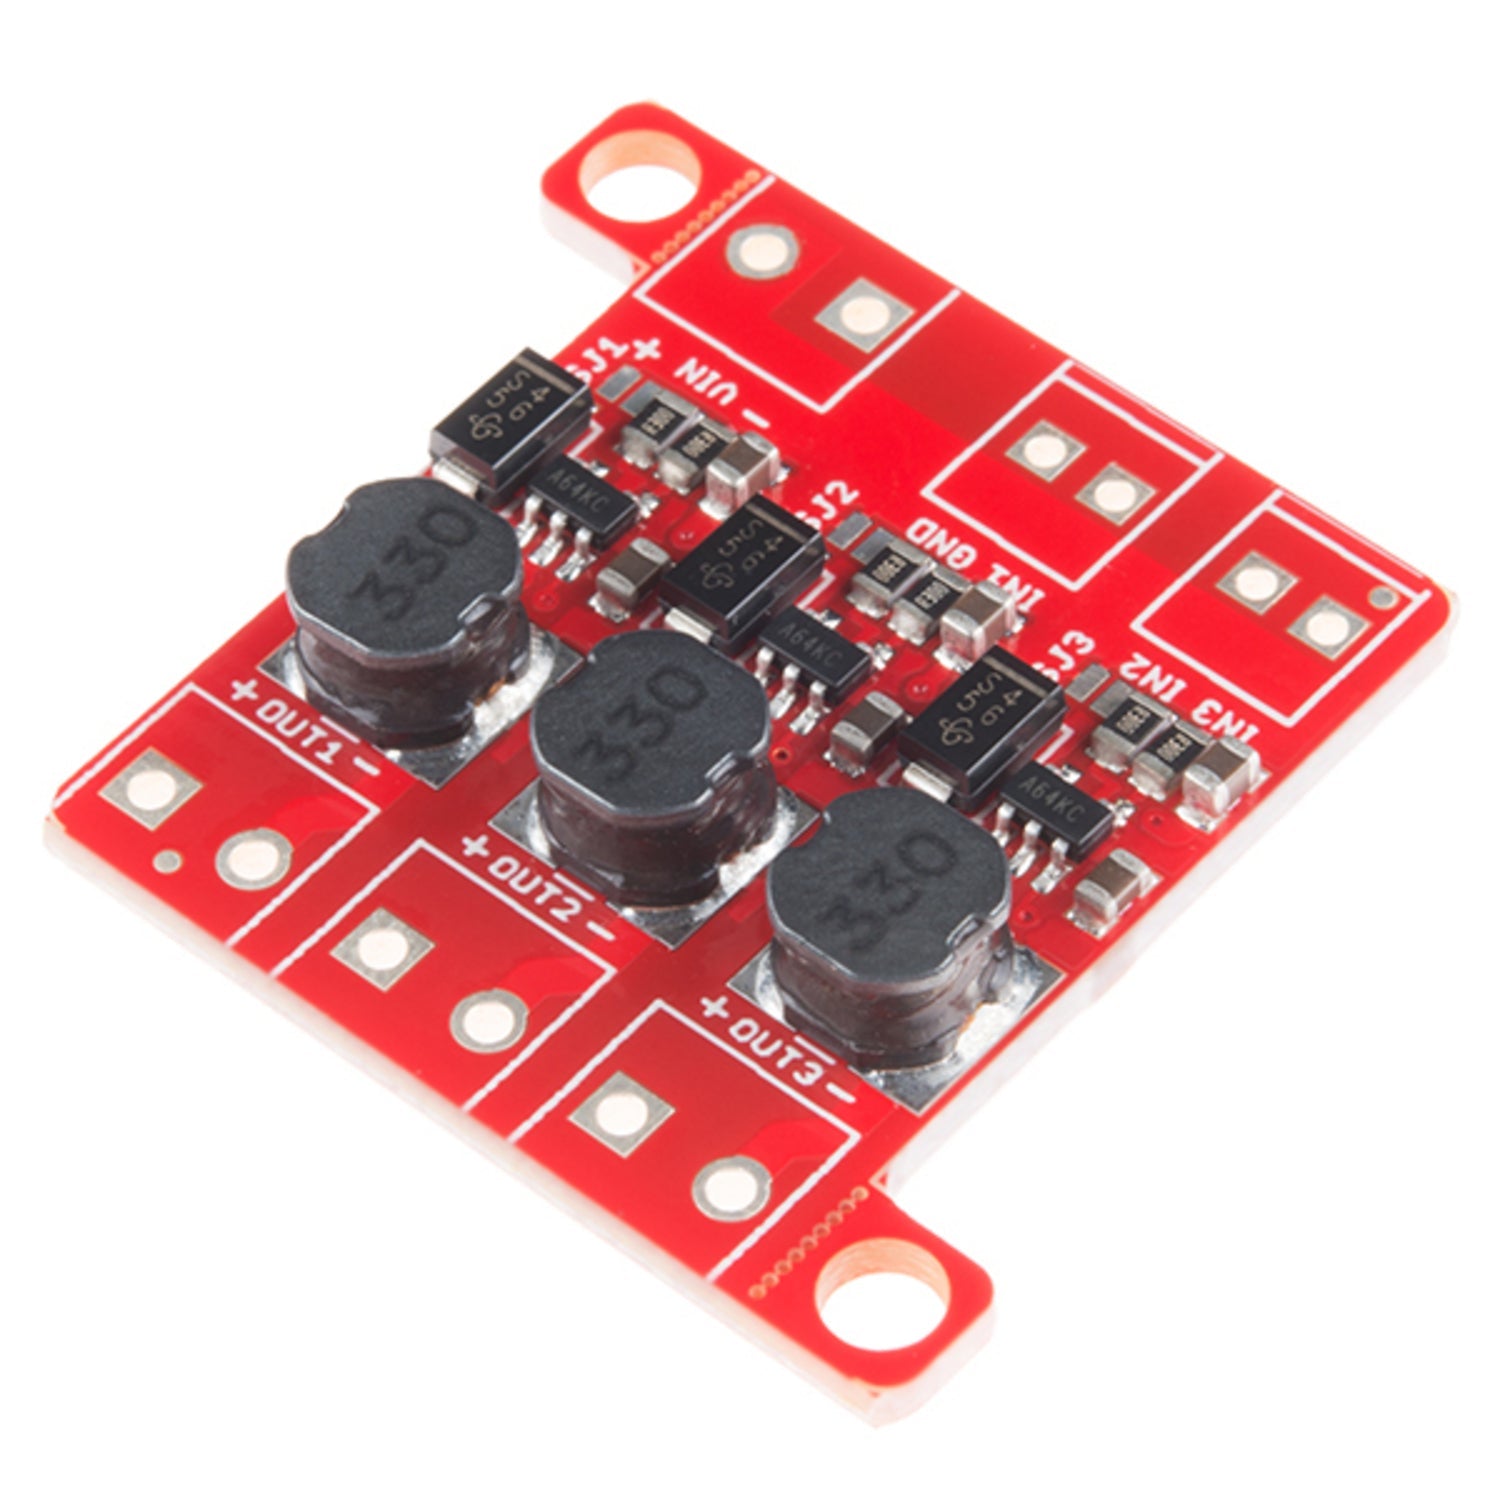
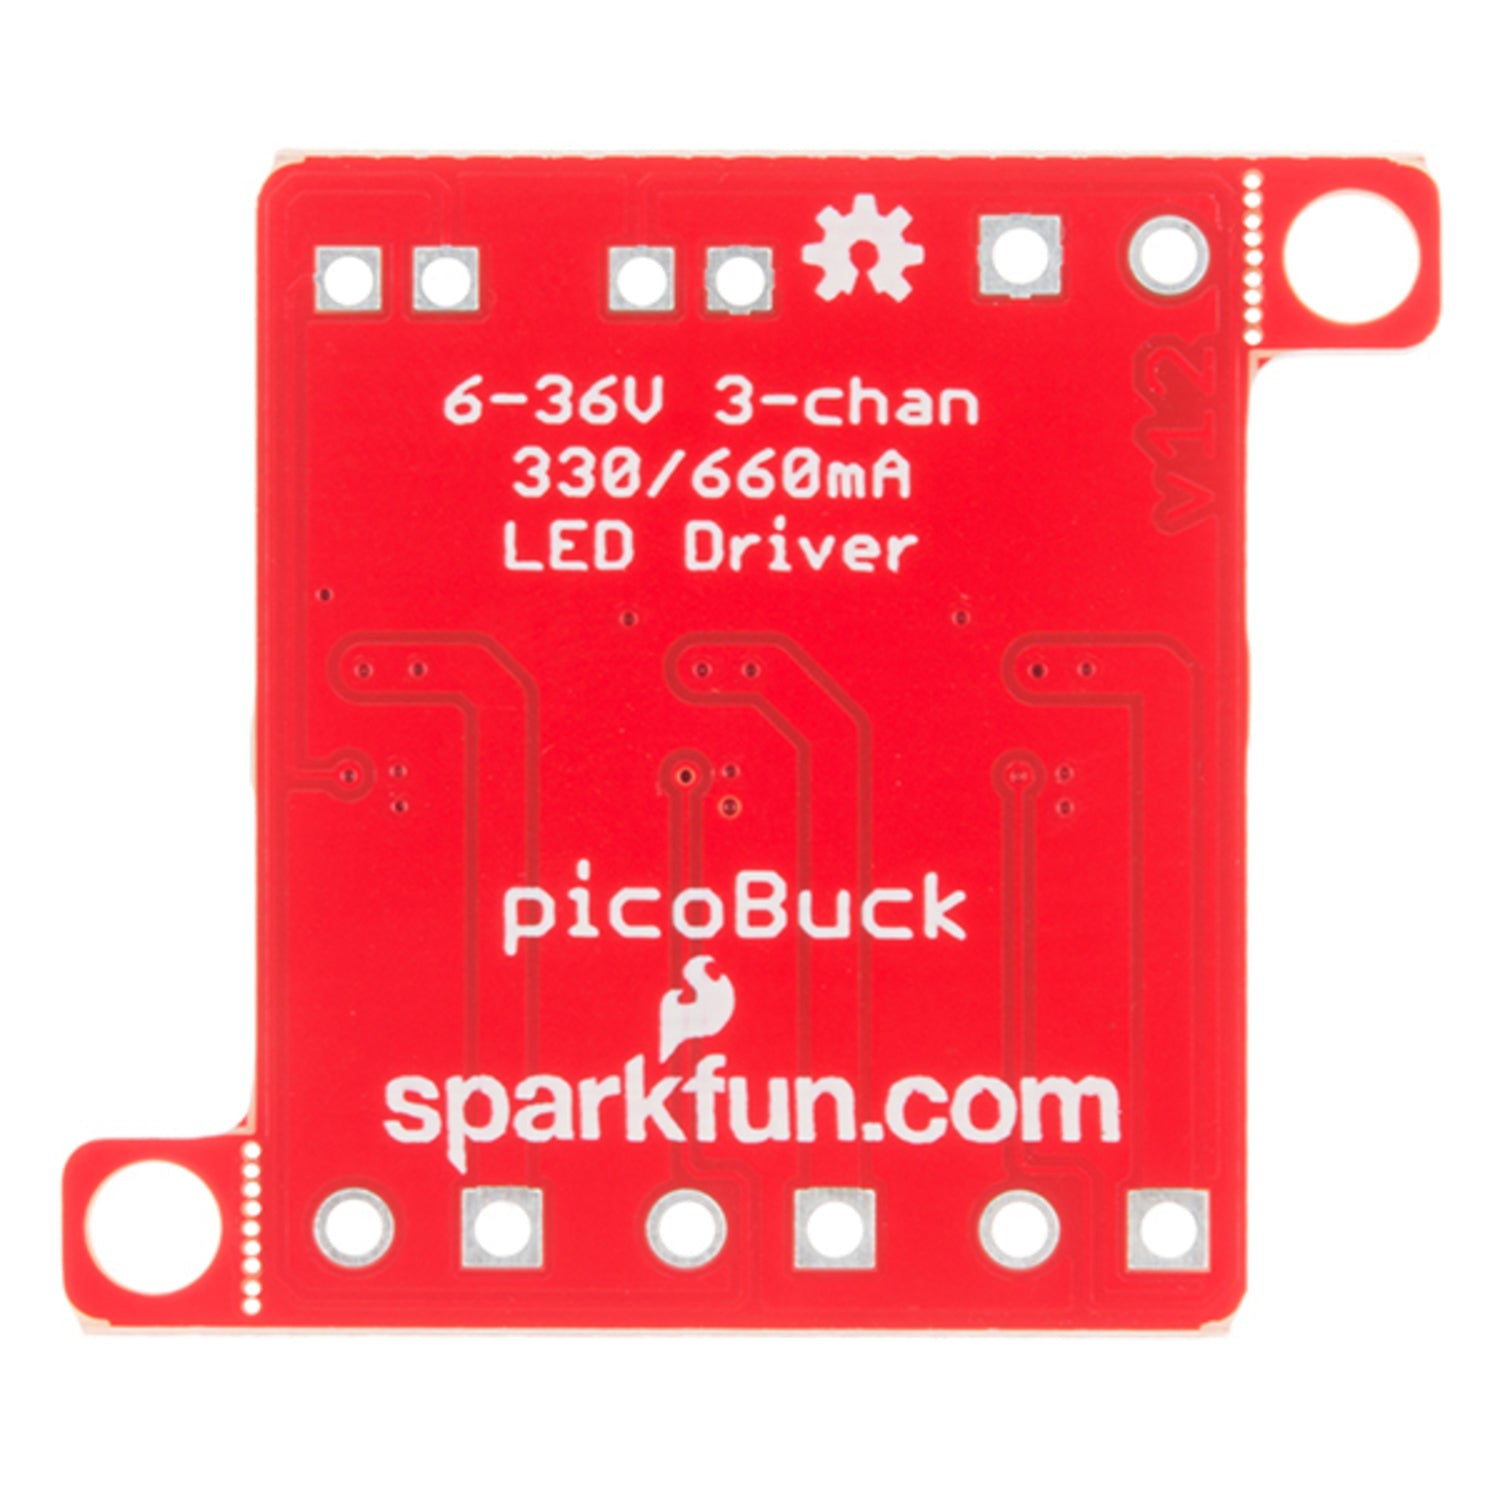
The PicoBuck LED Driver is a cost - effective and user - friendly solution for controlling and blending three different LEDs across three separate channels. By default, each channel operates at 330mA. You can easily reduce this current by sending an analog voltage or a PWM signal to the board. In version 12, there's a solderable jumper. Closing it can boost the maximum current to 660mA. The upgraded voltage regulator enhances the voltage rating of components on the board, enabling use up to the full 36V of the AL8805 part. It offers three signal inputs for dimming. You can use PWM signals from an Arduino or your preferred microcontroller to dim each channel individually or dim all channels simultaneously. Dimming can be achieved via an analog voltage (20% - 100% of max current by varying voltage from.5V - 2.5V) or PWM (with a 0 - 100% range as long as the minimum voltage is less than.4V and the maximum is more than 2.4V). Each channel has a small jumper to increase the drive strength from 330mA to 660mA. The board features two mounting holes for 4 - 40 or M3 screws on both sides. These holes are perforated and can be removed with pliers if a smaller footprint is needed. Note that if using screw terminals, the board requires two different sizes. Also, this driver was developed in collaboration with Ethan Zonca, and a portion of each sale goes back to him. Relevant documents include Schematic, Eagle Files, Datasheet (AL8805W5), Hookup Guide, Protofusion Page, and GitHub.


Using the PicoBuck LED Driver is easy. First, connect your LEDs to the three separate channels. By default, each channel will drive at 330mA. If you need to reduce the current, you can send an analog voltage or a PWM signal to the board. To increase the maximum current to 660mA, close the solderable jumper on version 12 of the board. For dimming, you can use the three signal inputs. You can either dim each channel individually using a PWM signal from an Arduino or your microcontroller, or tie them all together for simultaneous dimming. You can choose to dim with an analog voltage or PWM, just follow the specified voltage ranges. When it comes to mounting, use the two holes on either side of the board with 4 - 40 or M3 screws. If you want a smaller footprint, simply use pliers to snap off the perforated holes. Remember, if you plan to use screw terminals, you'll need two different sizes, so check the related products. Also, a part of the sale of this driver goes to Ethan Zonca as it was developed in collaboration with him. To keep your driver in good condition, avoid exposing it to extreme temperatures and moisture. Check the connections regularly to make sure they are secure.