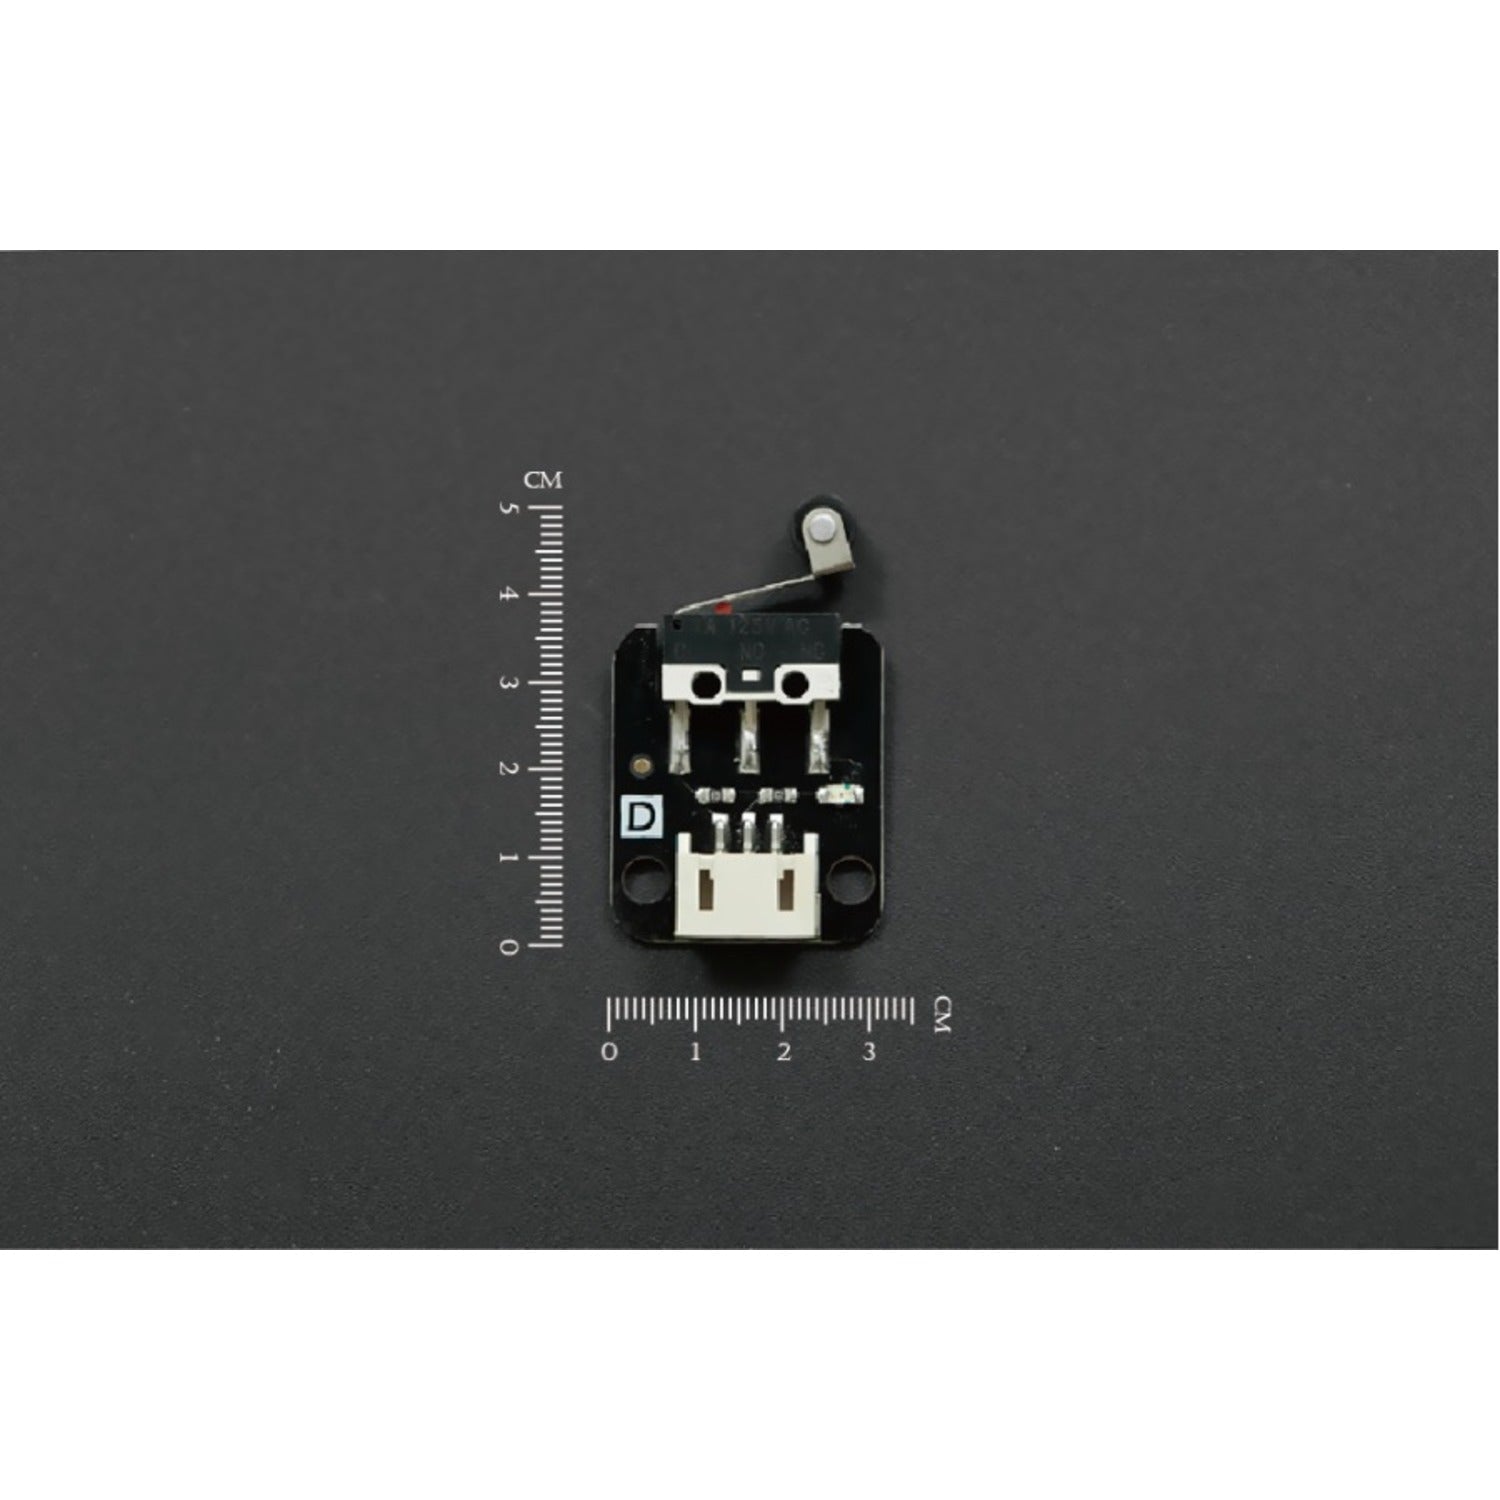
A micro switch, also known as a miniature snap-action switch, is a highly useful electric switch that needs only a tiny physical force to operate. These switches are incredibly versatile and are used in a wide range of applications, including appliances, machinery, industrial controls, vehicles, and more for controlling electrical circuits. While most are rated for control circuits, some can directly control small motors, solenoids, lamps, or other devices.
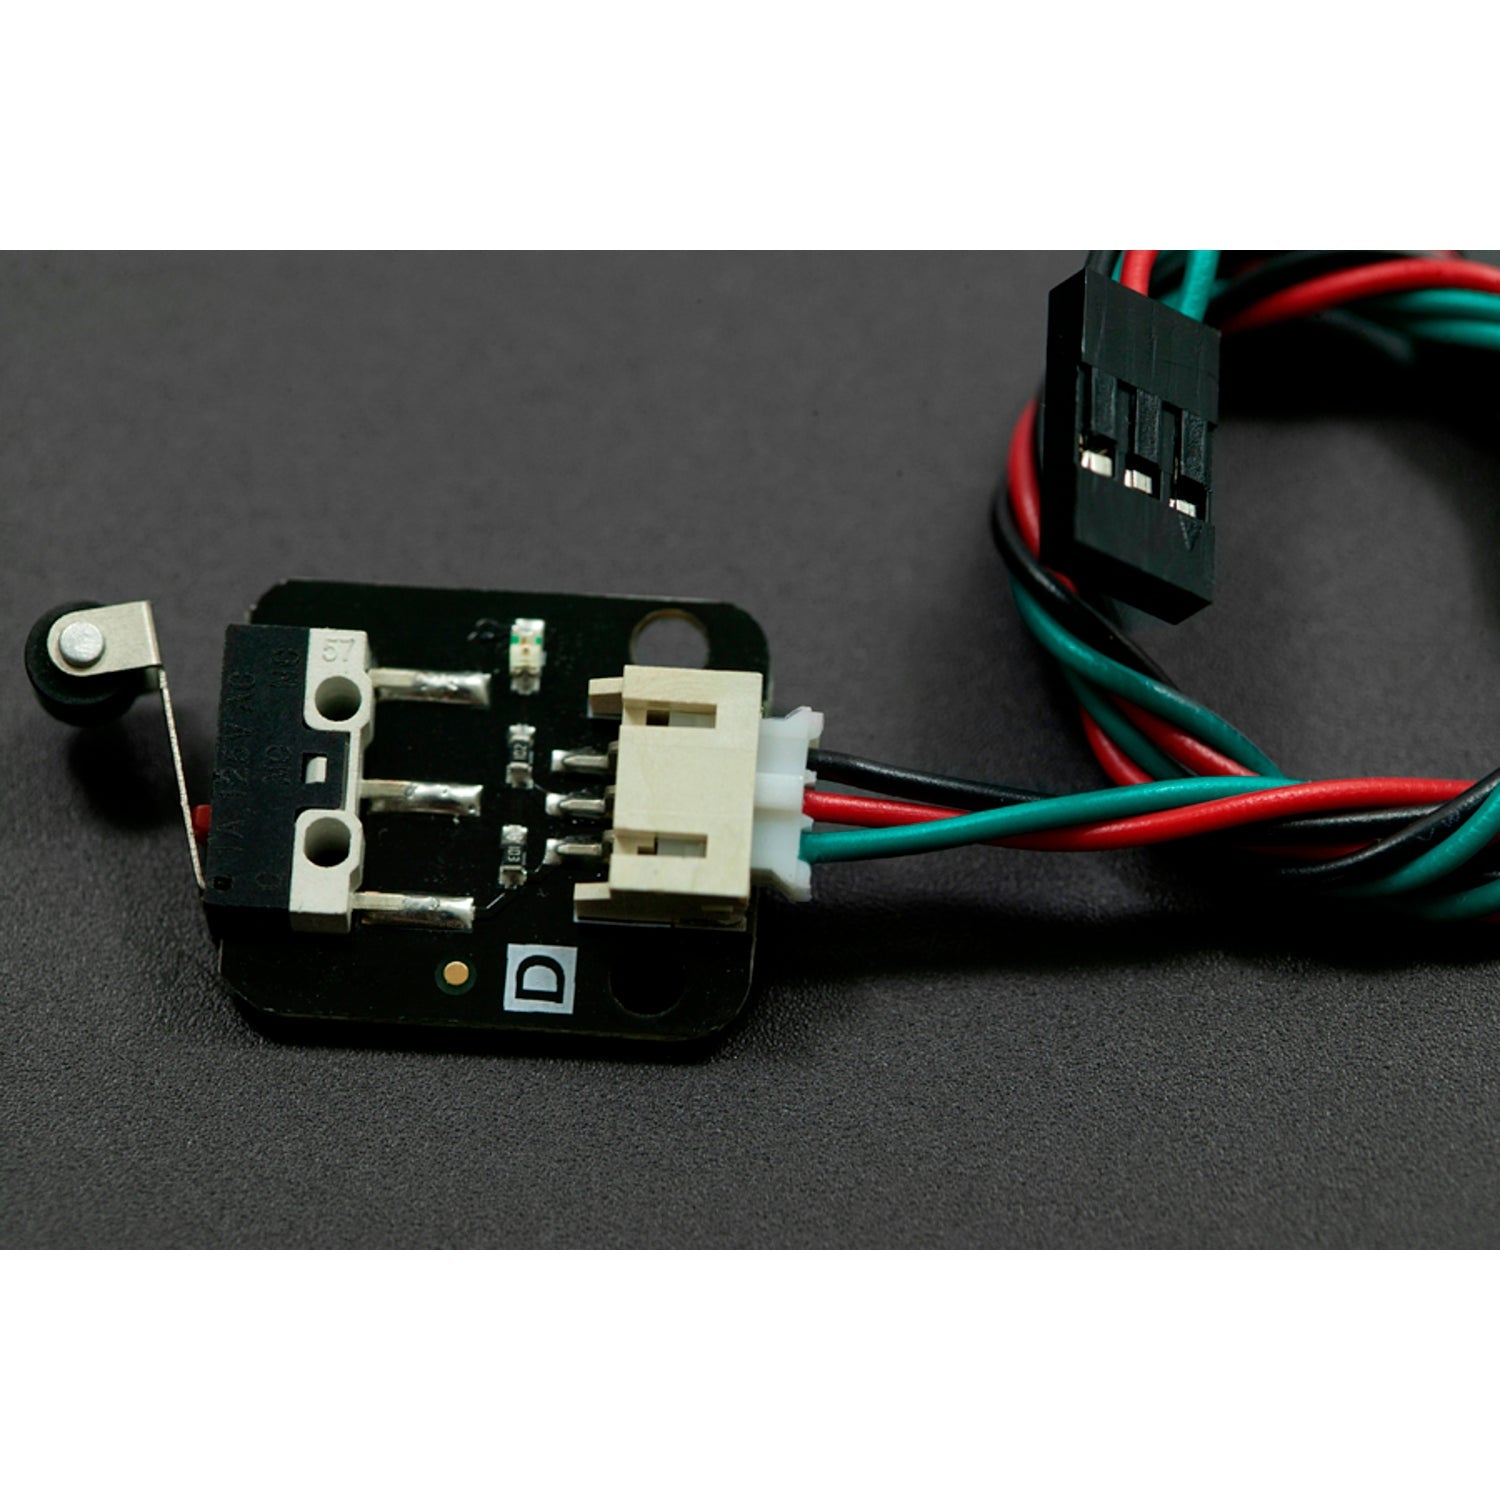
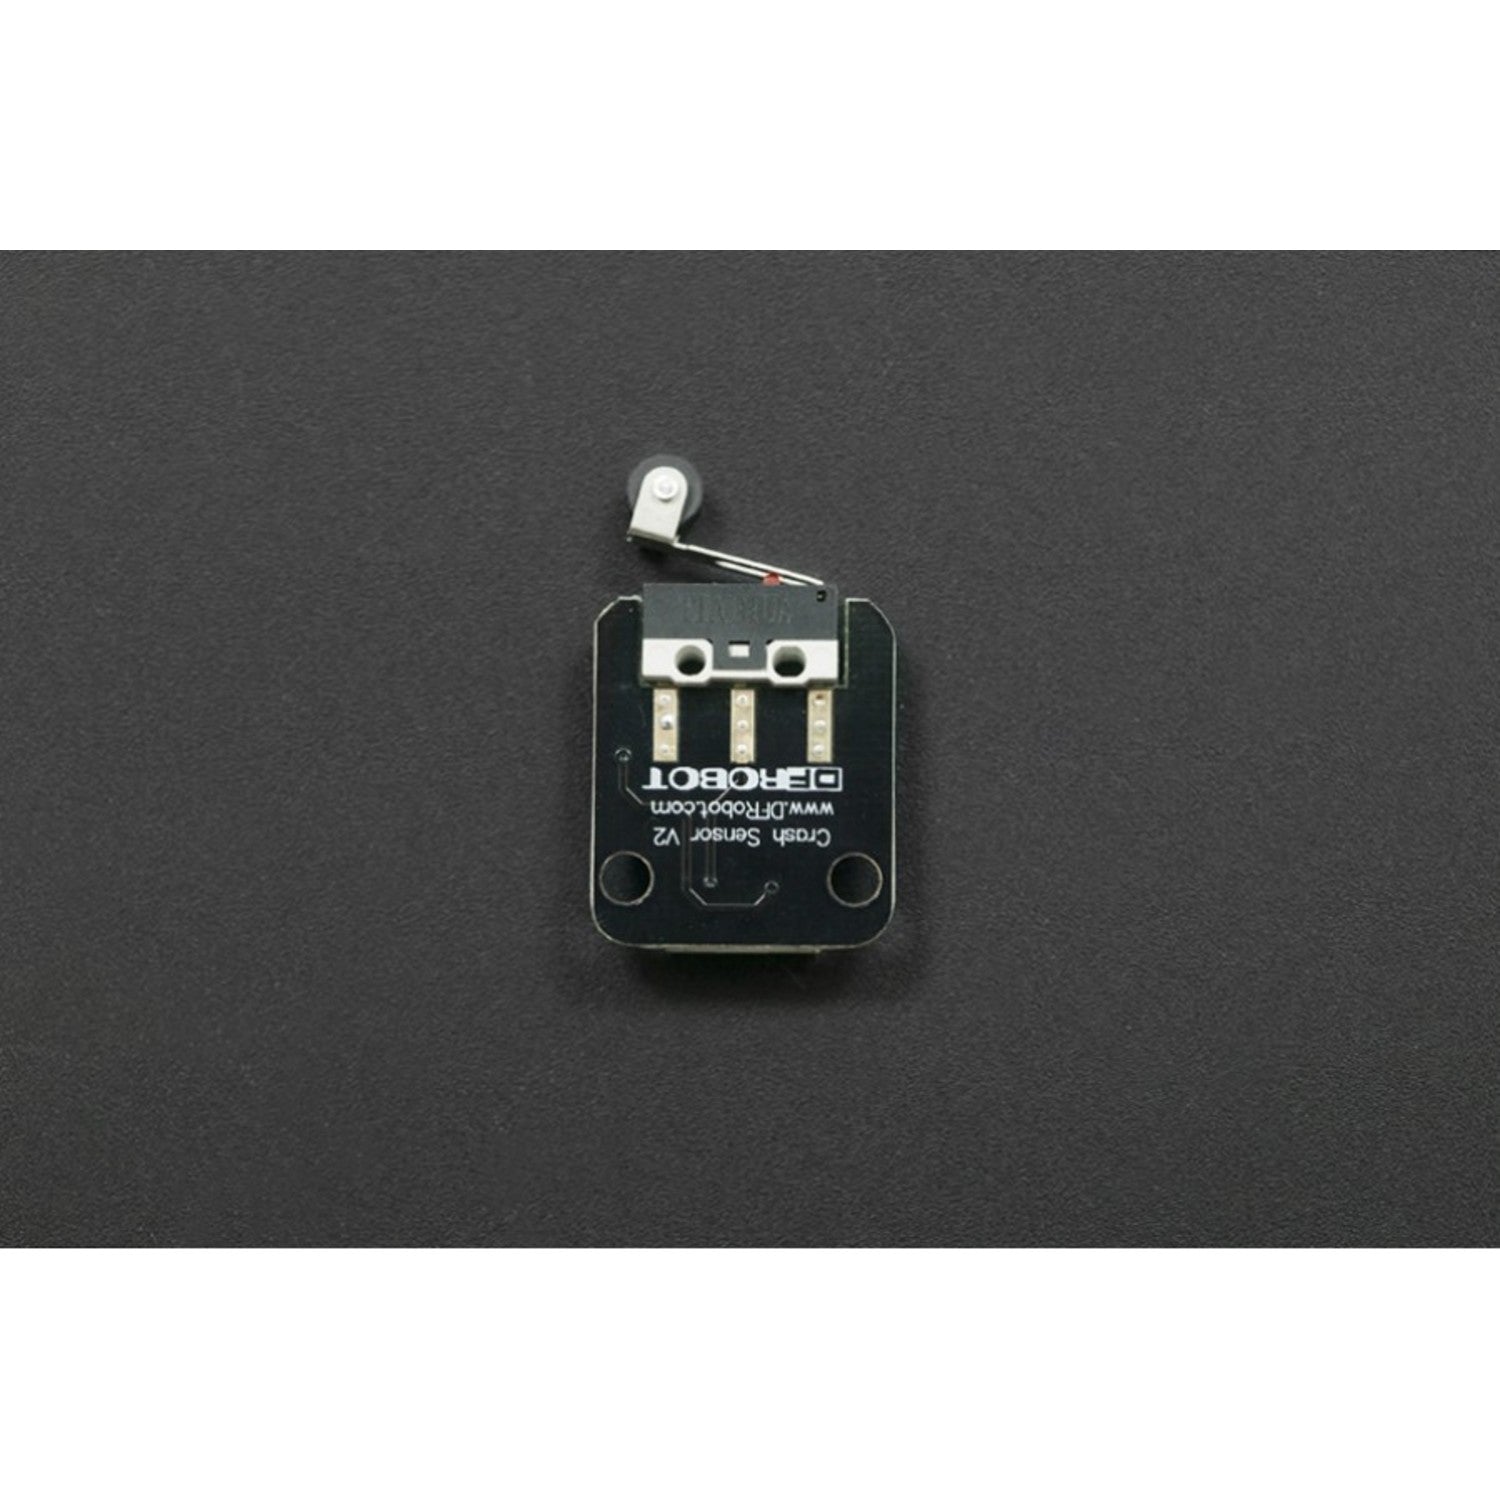
This small micro switch sensor is specially designed for the Arduino. It can be directly connected to the IO Expansion shield. With an onboard pull-up resistor and a status indicator LED, it's a breeze to test. The miniature snap-action micro switch with a roller lever makes it adaptable to various environments.
**APPLICATIONS**
- Levelling and safety switches in elevators
- Door interlock on a microwave oven
- Vending machines
- Detect paper jams or other faults in photocopiers
- 3D Printer position feedback, etc.
**SPECIFICATIONS**
- Working Voltage: 5v
- Pinout: 1 Digital output, 2 VCC, 3 GND
- Onboard status indicator LED
- Directly connectable to the IO Expansion shield for Arduino
- Two M3 mounting holes
- Size: 30x20x8mm (1.18x0.79x0.31')
**DOCUMENTS**
- Wiki Doc
- Arduino Sample Code
- Dimensions
- Schematics
**SHIPPING LIST**
- One Crash Sensor


Using this left-side crash sensor is quite simple. First, connect it directly to the IO Expansion shield of your Arduino. Make sure the power supply is set to 5V as specified. The onboard status indicator LED will show you the working status of the sensor.
When installing, use the two M3 mounting holes to secure it in place. You can use it in many different places like in elevators, microwave ovens, vending machines, photocopiers, and 3D printers.
Here are some things to note. Don't apply a voltage higher than 5V as it may damage the sensor. Also, be gentle when handling the roller lever to avoid breakage.
For maintenance, keep the sensor clean and free from dust. Check the connections regularly to ensure they are secure. If you encounter any problems, refer to the Wiki Doc and Arduino Sample Code for troubleshooting.