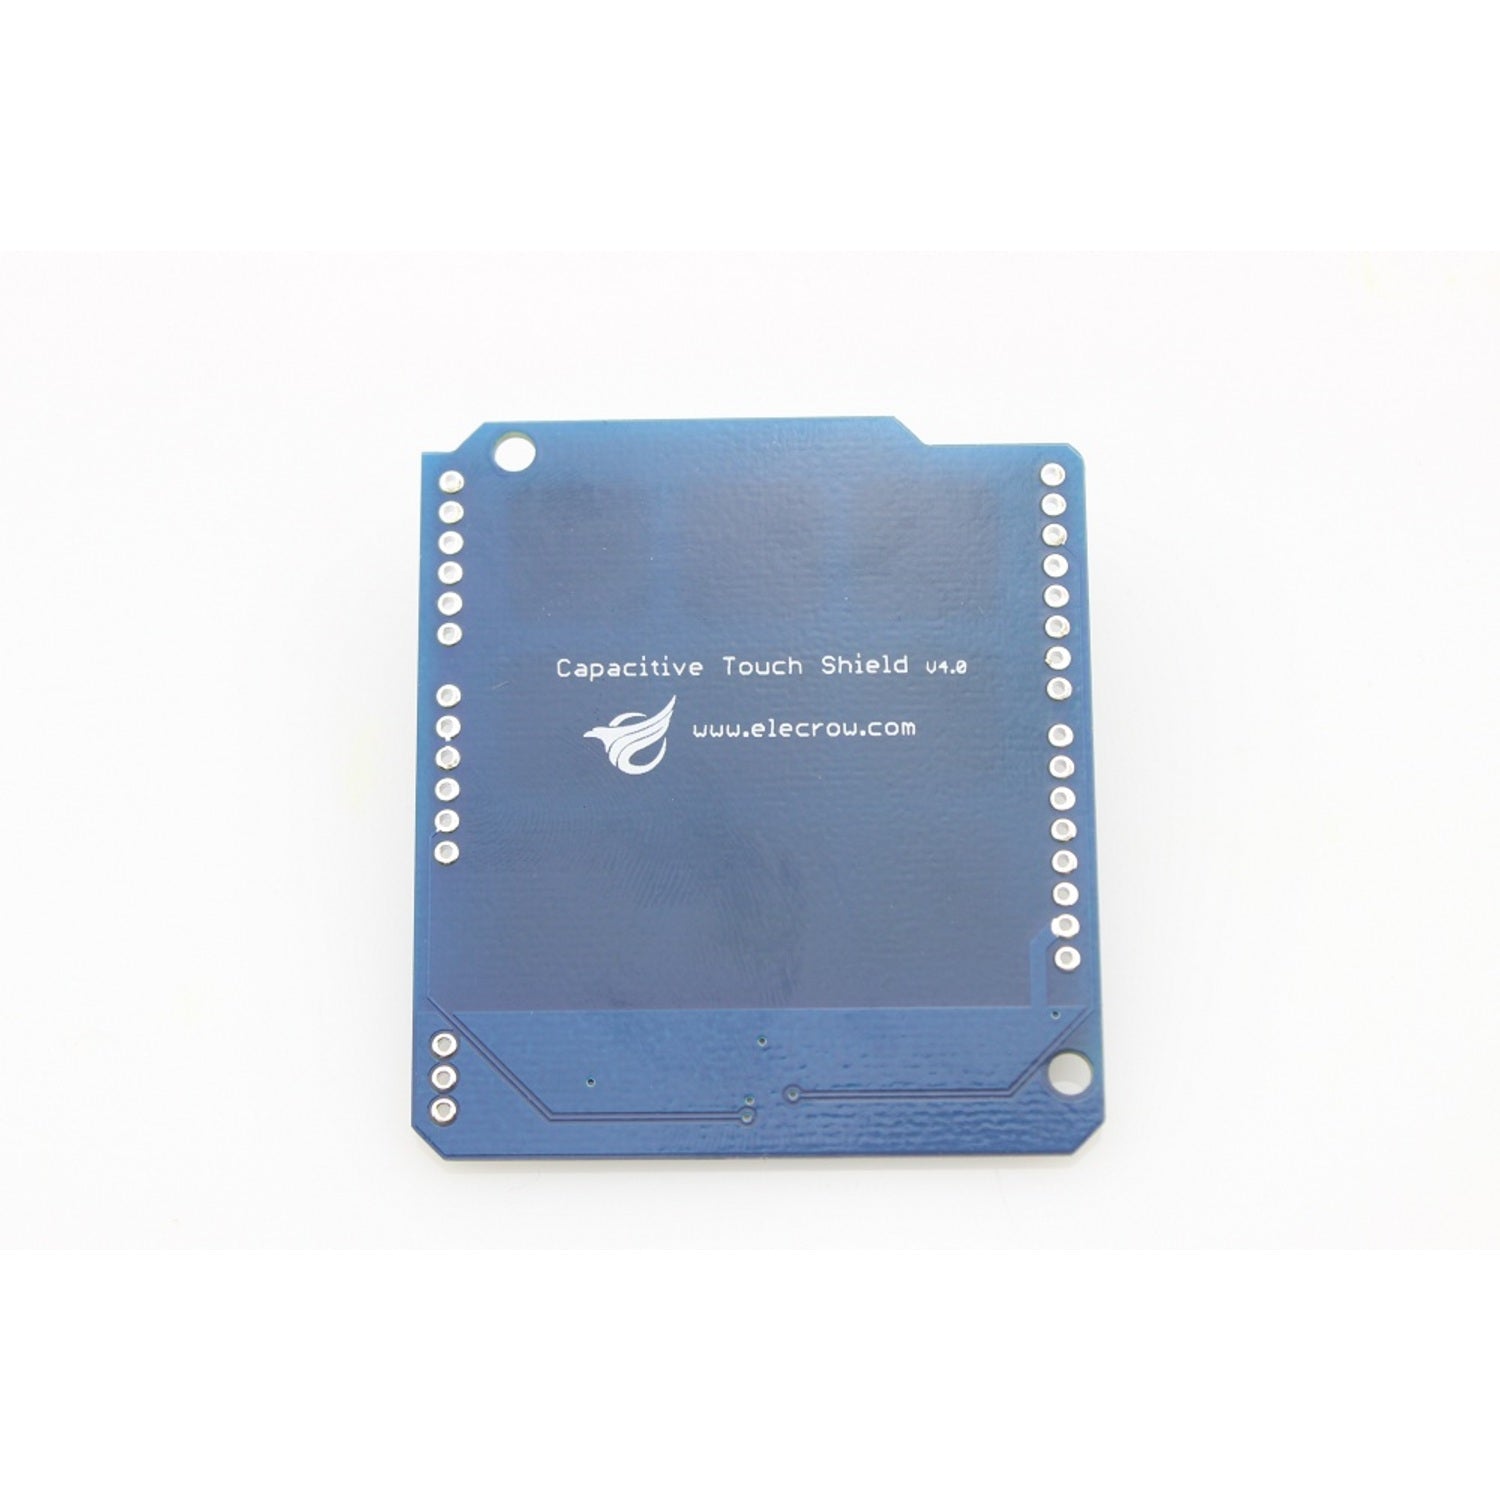
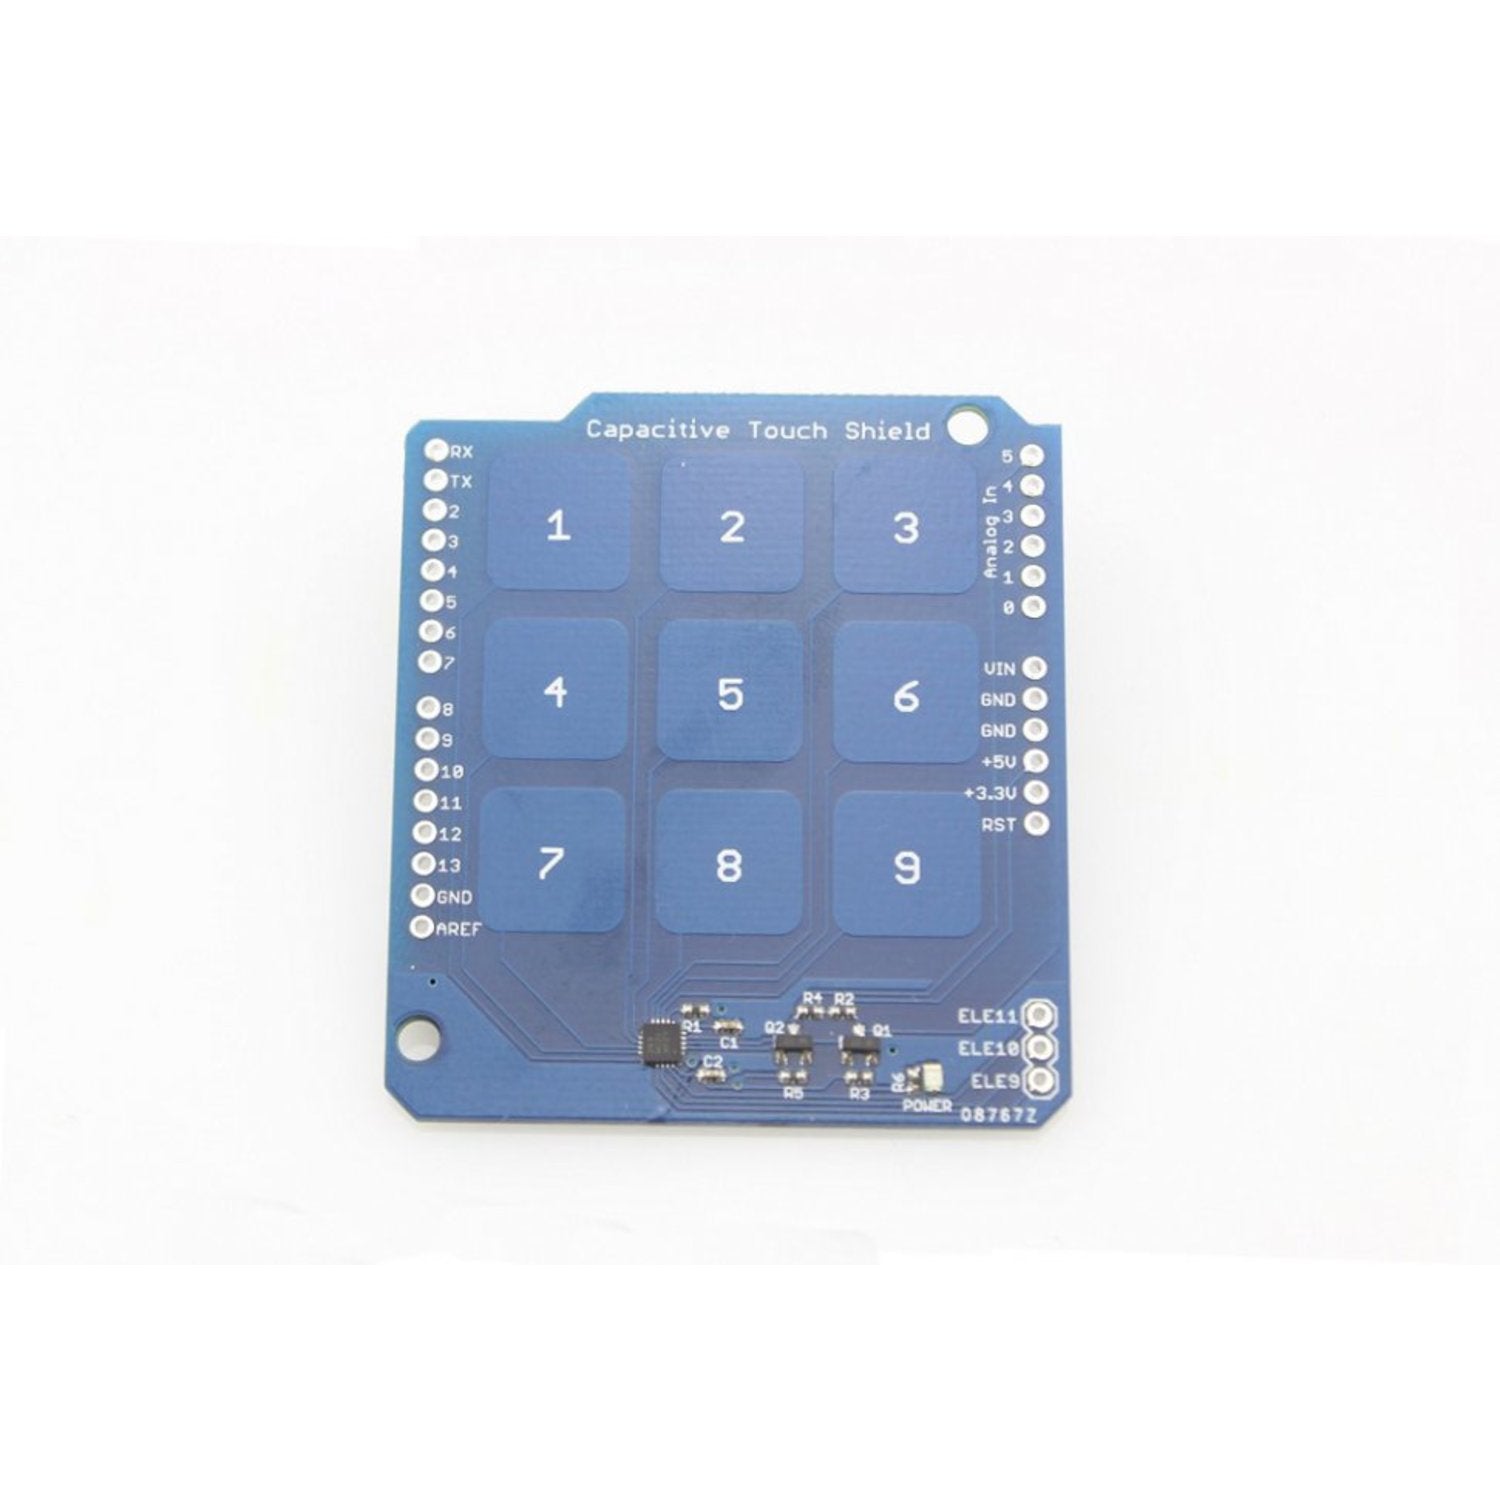
This awesome Capacitive Touch Shield comes with 9 built - in capacitive touchpads and 3 extra electrodes for more uses. You'll get a total of 12 touch - sensitive buttons! It uses the MPR121, an excellent solution for creating simple capacitive touch interfaces via I2C communication. It's super easy to integrate into your Arduino projects. An on - board logic level converter enables it to work with both 5V and 3.3V Arduino boards, and there's an LED to show the power status. Compared to other touch shields using digital pins, this one uses fewer pins, leaving more for other purposes. All the header pins aren't soldered. You can solder them yourself to use it as an Arduino 'Shield', or just solder the essential pins (Power/GND/I2C/IRQ) for easier implementation anywhere. Key features include 12 channels in total, 9 built - on keypads with 3 reserved pins for external use, a power status indicator, and I2C communication that saves Arduino pins. Also, you can refer to the MPR121 Datasheet, Touch Shield Demo Code, and Wiki for more information.


Using this capacitive touch shield is easy. First, if you want to use it as an Arduino 'Shield', solder all the header pins. Or, if you prefer a simpler setup, just solder the necessary pins like Power, GND, I2C, and IRQ. Once it's connected to your Arduino board, it can work with both 5V and 3.3V versions thanks to the on - board logic level converter. The LED will show you the power status. When working on your projects, you can take advantage of the 12 touch - sensitive buttons. The 9 built - in keypads are ready to use, and you can connect external devices to the 3 reserved pins. Remember to refer to the MPR121 Datasheet, Touch Shield Demo Code, and Wiki for more detailed information. For maintenance, keep it in a dry and clean place. Avoid touching the pins with dirty hands to prevent short - circuits. If you're not using it for a long time, store it properly to protect it from damage.