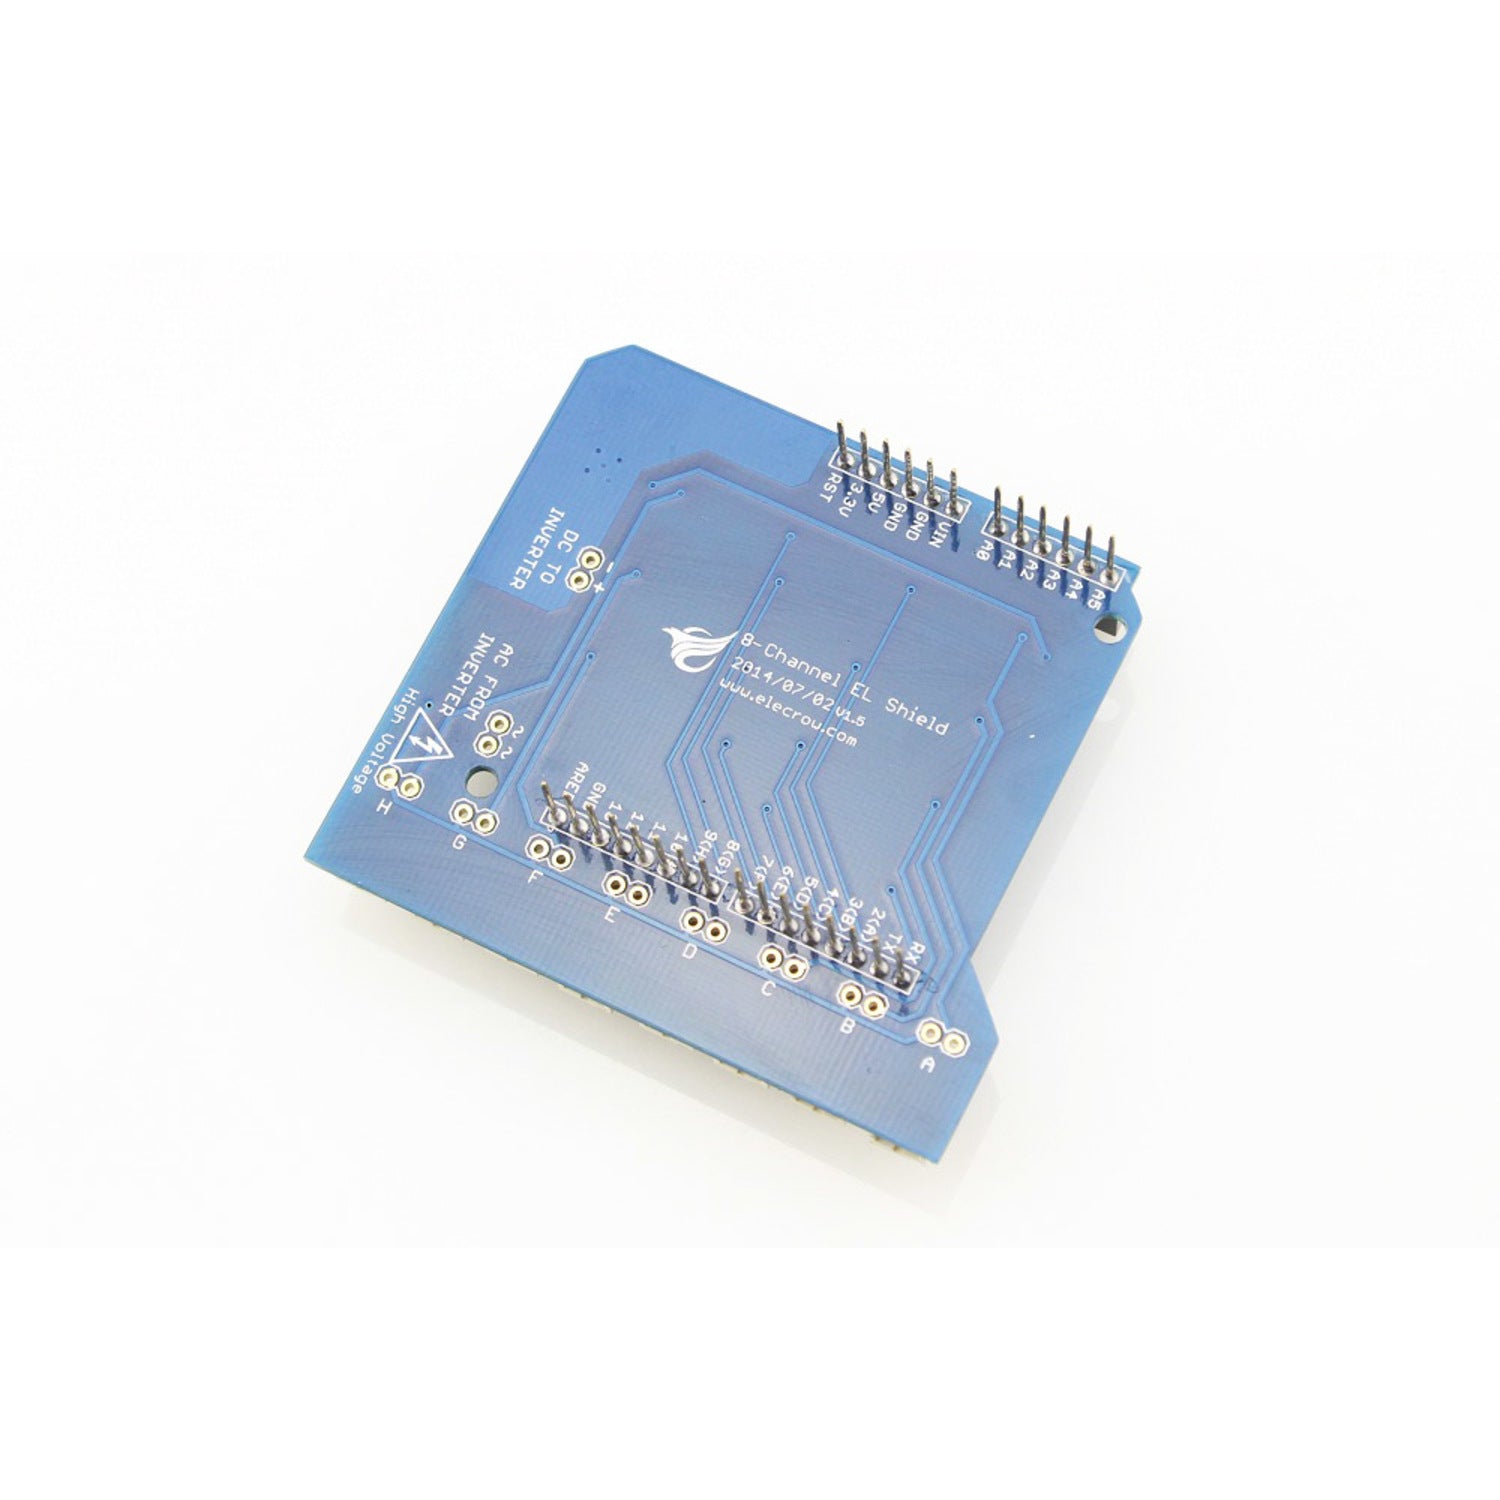
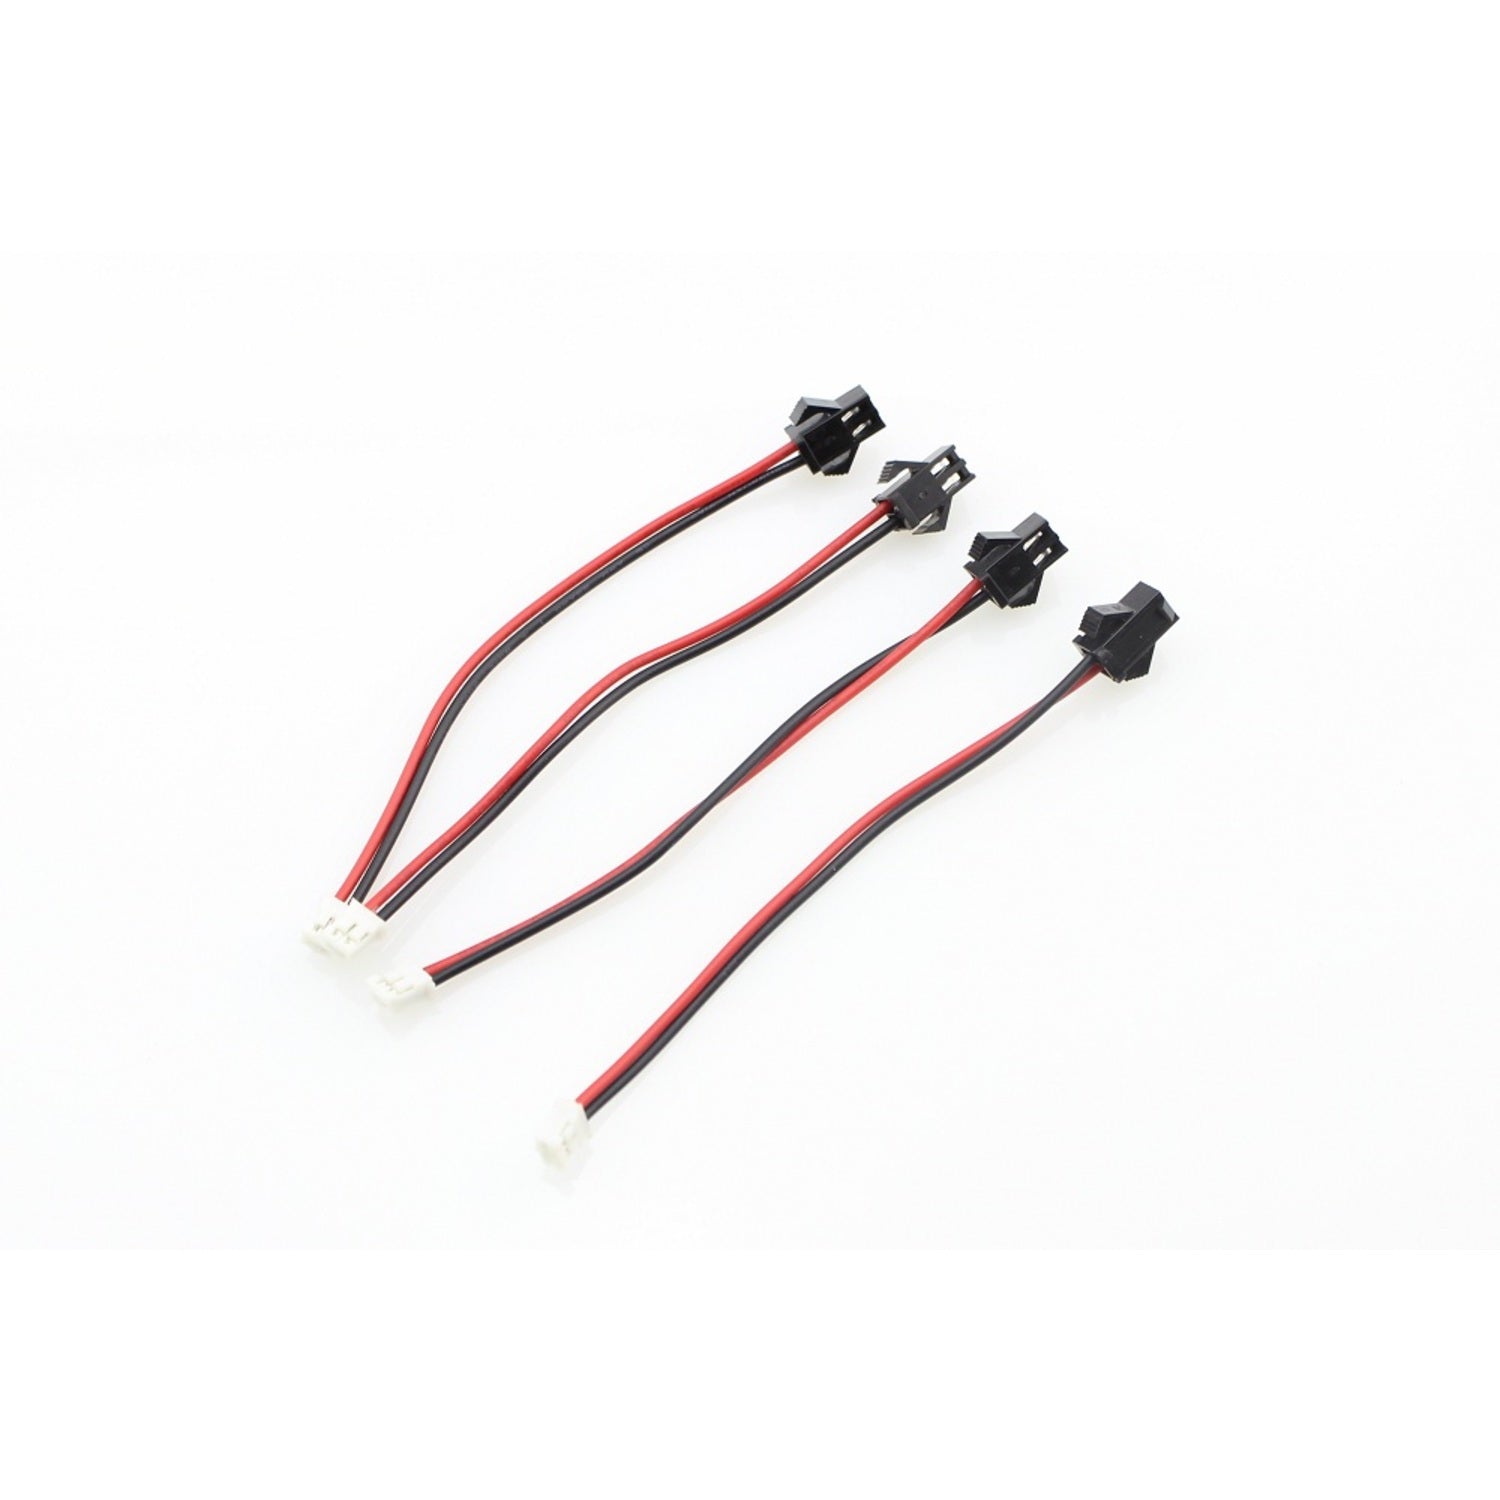
EL wire is a flexible plastic cord that lights up brightly when high-voltage AC is applied. It comes in various cool colors and uses very little current. However, working with it can be tricky due to the high-voltage needs. The Elecrow EL Shield offers a great solution, allowing you to integrate up to 8 channels of EL wires or tapes into your project. With Arduino or Crowduino, you can control 8 EL devices both together and separately, just as easily as controlling an LED. Driven by PWM, you can create amazing, colorful effects by programming each EL wire. This shield comes with 4 EL wire adaptors to connect standard EL wires. You can buy more to manage up to 8 channels. Note that a 5V inverter is required for this EL shield. There's also an 8-Channel EL Shield Kit that has all the modules you need for an EL wire project. Package includes 1 8-Channel EL Shield and 4 EL Wire Adapters. Features include 8 opto-isolated, zero-crossing control channels, easy control like an LED, and compatibility with 5V or 3.3V Arduinos. Download MOC3063, Z0103MN, and LM317 datasheets and check the Wiki for more info.


Using the Eight-Channel EL Shield is easy. First, make sure you have a 5V inverter as it's needed for the shield to work. Connect the EL wires to the shield using the provided EL wire adaptors. You can get more adaptors if you want to control up to 8 channels. Then, connect the shield to your Arduino or Crowduino. Once everything is connected, you can start programming to control the EL devices. You can control them all at once or separately, just like you would with an LED. When it comes to maintenance, keep the shield and the wires in a dry place. Avoid exposing them to extreme temperatures or moisture. If you face any issues, refer to the MOC3063, Z0103MN, and LM317 datasheets or check the Wiki for solutions.